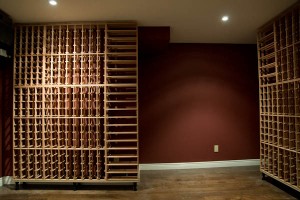
If building Ikea is like putting together a lego house, then assembling wine racking is more like building something out of Linkin’ Logs. Or a giant Jenga game.
As I had mentioned in an earlier post, I came to regret leaving the old wine cellar racking in Edmonton, when I discovered that Ikea no longer made it. Or at least, that they had changed it. Interestingly, in this case it has become more expensive. Based upon their Gorm shelving system, it used to be a really cost effective way of storing your wine bottles. The cost has effectively doubled, in that you need both a shelf and a rack frame, rather than what was essentially a shelf with some slats nailed to it. It wasn’t pretty, but it was functional, and my philosophy had always been to spend money on the wine, rather than the storage.
Fortunately, I found a solution at Rosehill Wine Cellars, using their modular redwood wine racks. They are surprisingly cost effective (a little more than Ikea’s current solution, but a whole lot nicer on the eyes) and flexible. I had done some planning over the winter, and had managed to come up with a configuration that would work in the new cellar and meet our storage needs.
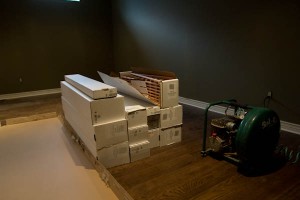
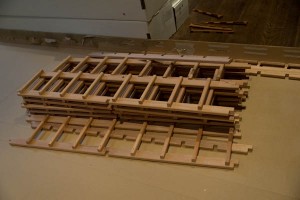
The next challenge was to actually build it. What I picked up Rosehill Wine Cellars was a variety of very small, very light boxes (at least, when compared to Ikea wardrobes). Opening said boxes, however, revealed a pile of wood pieces strategically cut and notched, all of which had to be assembled to create said rack. Preferred assembly technique was to use a nail gun, and a huge number of nails.
I started with a base, which I managed to cobble together using melamine-covered particle board and adjustable legs from Lee Valley Tools. This gave me a strong base that could be adjusted in order to make it level, and should pretty much disappear visually once the racking was built and stocked with bottles.
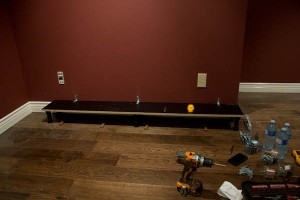
The base. Melamine covered particle board, and adjustable feet. It’s level, and that’s what matters.
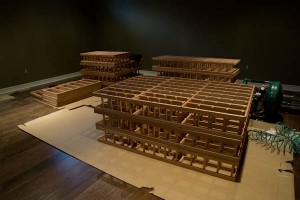
The base was the easy part. Then it got to building the individual racks. Once you had reviewed the instructions and built one, the rest became logical. Fiddly, but logical. The challenge was to assemble all of the pieces to create a rack, manage to get it square, and then nail the corners in place without everything falling back apart. There were instances where that required a good five or six attempts to accomplish.
What was left at the end of the day was a set of assembled racks that were ready for installation. This involved attaching brackets to each rack, and bolting them to the wall behind using drywall anchors and screws. Conceptually, this is something fairly straightforward and logical. The reality is that the depth of the racks when installed is 9″, which means you need a very long screwdriver or very small hands to fit them inside the rack. I had neither.
What I did have, however, was a power drill and a number of screwdriver bits. That, connected with two quick-change bits, gave me a long—but ridiculously unwieldy—screwdriver head. Torque suffered, and I’m sure there are any number of health-and-safety professionals that would have conniptions over my technique, but it got the job done.
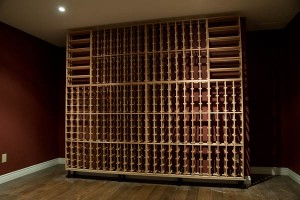
The end result is that we now have a wine cellar that, for a reasonable amount of money, looks pretty damned awesome. It’s not a custom racking solution by any stretch of the imagination, but those can run into the tens of thousands of dollars (and again, who wants to spend that much on storage when you can be out buying wine instead?) But at the sometime, it very nearly looks like a custom solution. And even better, it has capacity for something north of 830 bottles. Which should keep us going for awhile.
We do have room for expansion, though, should we need it.

