Project Doorknob

Since acquiring Boo Manor, the importance of door hardware – and installing the correct door hardware – has become something of a fetish for me. An odd fetish to be certain, and also not a cheap one.

Seren had done some research, and typically porcelain door knobs would have been used in a house of this era, which makes the motley collection of glass, brass and metal doorknobs oddly inappropriate. And I have already well-documented the quest for appropriate door hinges. My shopping trips through southern Ontario had yielded an impressive collection of porcelain-knob related door hardware from a variety of vintages, but there still remained the challenge of putting it all together and making it work.

Installation was complicated by the fact that we also had a variety of different door vintages to work with. Two of the doors off the dining room were modern, and had the usual two-inch hole for the door handle hardware to be mounted in. This left us with two choices: use modern door hardware, or replace the doors. Replacement was neither practical nor overly cost-effective, so newer door handles were the way to go here. The door to the basement and the outside (because yes, our dining room has an exterior door) are the same age of the house, and use the old-style iron bar through a much tinier door whole. And the door to my den didn’t even exist, which opened up our options on that front quite considerably.

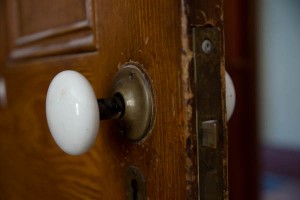
I had, at Addison’s in Toronto, found porcelain doorknobs that looked older but weren’t. In fact, a minimal amount of internet research revealed that they were Australian, made by a company called Gainsborough, and brand new ones could in fact be bought at local hardware stores. The ones that I had purchased had been recovered from a house somewhere in Toronto, and had enough of a patina of age and use as to be plausible in the dining room. The downside was that they also had horribly gaudy fake-brass-rosettes (and Dianne is already planning for the eradication of all brass door hardware from Boo Manor) that certainly don’t count as period.

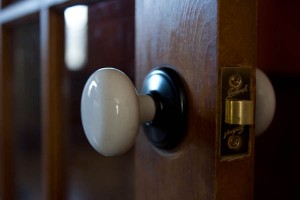
Painted rosettes and a new, used doorknob. If that makes any sense whatsoever.

The doorknobs from Addison’s were new enough, however, that they would work in the mounting holes of the newer doors. Assuming that I had the appropriate door hardware to finish the job. The tubular latch sets (the little pokey-slidey things that go in the side of the door, with the spring loaded doo-hickey that actually holds the door closed) that were there didn’t work with the new doorknobs. And I was a couple of screws short of a mounting solution for them (and no, I don’t need to hear your rude comments about this plight).
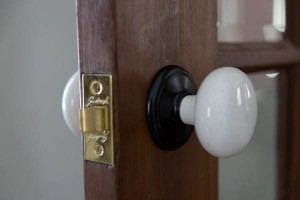
Why Gene has a stockpile of Gainsborough hardware I don’t know, but I’m desperately grateful that he does.

Fortunately, and coincidentally, Gene has in the past made extensive use of Gainsborough doorknobs, and has a box full of old parts, screws, mounting plates and latches (not to mention two brand new doorknob sets, if desperation truly set in) that he was happy to let me graze through. And for reasons that escape me, the box yielded up two tubular latch sets (still in their packaging) that were exactly what I needed to finish off the doors. The brass rosettes got a coat of Tremclad semi-gloss black paint (adding significantly to the fumes that were already wafting about courtesy of the floor refinishing) and I now had two sets of newer doorknobs that looked slightly used and should actually work in the doors.

The door to the basement. You’d never know the doorknob hadn’t always been there.

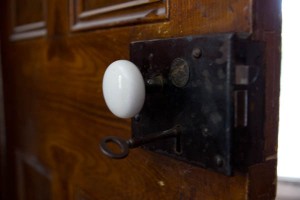
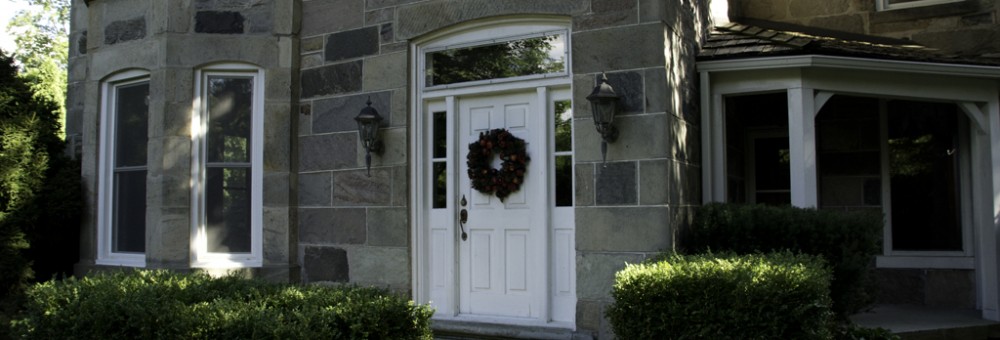
The doors to the basement and outside were easier to manage, on a relative scale. It had been recommended that the porcelain knob that would be outside be sealed, to help it resist weathering over time, but the installation was mostly straightforward. The basement door just required a replacement of knobs. The exterior door was a slightly different challenge, in that I needed a cross-bar long enough to make it through the door and the surface-mount lockset. By astounding coincidence, however, one of the cross-bars that I had picked up at Addison’s under the mistaken assumption that it would work with the Gainsborough doorknobs was the exact length I needed for the exterior door.

This doorknob used to be glass. And was completely unattached to the door. Talk about unhinged.

And so, the jigsaw puzzle that has been Project Doorknob has come to a successful conclusion, and we now have five doors in or near the dining room that all have period(ish) porcelain knobs. And I only lost a few brain cells from paint fumes and whatever it was that the floor refinishers were using. I’m calling that a win.
An Ikea Odyssey: Part 1

Trigger warning: Contains references to the assembly of flat-pack furniture on a massive scale.

There are possibly fewer words capable of creating both dread and joy in the hearts of Canadians than ‘Ikea’. Only four letters long, it nonetheless has the power to convey ‘cost effective furniture’, ‘you won’t make it through the marketplace for less than $200’, ‘swedish meatballs’, and ‘some assembly required.’ Name me another word that can do all that.

I have purchased, assembled, moved, repaired, discarded and replaced a massive amount of Ikea furniture in the years I have spent roaming the planet. I vividly remember my very first bookshelves, which made something on the order of 20 moves before finally succumbing to a tragic demise as laminate delaminated and particle board crumbled. They went on to be replaced by many, many more bookshelves over the years.

The move to Boo Manor would require further purchase, carrying, assembly and installation of Ikea furniture. Namely, Billy bookcases and Pax wardrobes. On a scale that would probably be troubling if I thought about it too hard. Particularly given that the first act before actually shopping at Ikea was renting a 15-foot cube van.

The first challenge, of course, was building a shopping list. That required its own, separate trip to Ikea, just to plan out how we were going to lay out the wardrobes. In the near future, we have plans to annihilate the walk-in closet in the master bedroom in favour of reclaiming the space for a much larger en suite bathroom. In place of this, we have annexed one of the other bedrooms with the intent of making it our new walk-in closet.

Showing up at the checkout with four heavily laden carts is perversely satisfying.

Having figured just how many Pax wardrobes of varying sizes and shapes could fit in our new closet, we needed to figure out how to fill them. That turned into a very large shopping list, which in turn transformed into a quest to find the nearest store with sufficient stock to supply us. This is actually made surprisingly easy by Ikea’s web site, which allows you to not only build a shopping list online but also to identify what stores have stock, and when they expect to have more. Even better, you can sort your list by warehouse location or (more relevantly) weight.

Armed with shopping list and current inventory amounts, we descended on the Burlington Ikea shortly before opening with the plan of a well executed surgical strike. At least, as well executed as possible when armed with a three-page shopping list. There is something deeply satisfying, however, about descending upon the checkout line with no less than four fully laden carts of boxes and seeing the look of consternation and horror of whoever has to ring all that through.

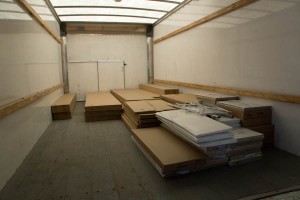
Whatever joy that might have produced quickly faded with the prospect of loading the truck (and then unloading it at the other end). Especially when you amply demonstrate that the 15-foot truck was actually necessary. All in all, our shopping odyssey took about three hours. Add in driving it all out to the house, with a stop to pick up more furniture along the way, and then unloading it all at the other end, and your are dealing with an entire day’s adventure.

It’s all fun and games until you have to load the truck. And disturbing that you need a truck.

And not a single box has yet been opened…

A Little Here, Some More There…

Work continues at Boo Manor. Things have been happening on many fronts, so it’s difficult to keep track of it all. As well, progress becomes harder to monitor just because everything is moving forward a little bit with each crew, day be day. In the last few weeks, we’ve had painting, flooring installation, flooring refinishing and electrical fixture installation all happening more-or-less at once. With a few side projects for good measure.

Dianne checks out the kitchen. New flooring, first coat of paint, and that lovely, lovely window.

Most of the rooms have now had a coat of paint, and several have had more than one. The front guest bedroom and the great room are essentially done, the kitchen is started, most other rooms have a full coat and the only rooms that have yet to progress much on the painting front are the dining room and Dianne’s den.

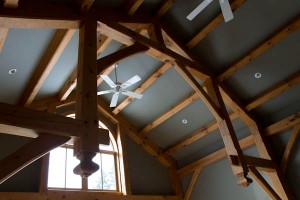
The rooms that are finished look gorgeous. The great room is spectacular; the new colour is darker than what was previously there, but in the same relative tone of green, so while painting was happening it was genuinely difficult a couple of times to discern what was new vs. what was old. Now that it is done, the walls make the wood beams in the space glow with a fabulous warmth.

The great room. Painted, cleaned and beautiful.

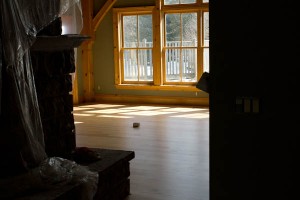
The floor refinishing has also been done in the last week. After 17 years of traffic, the maple floor was showing signs of wear and tear. A crew of three went at it, and what they have accomplished is impressive. The floor looks brand new. Along with Keelan doing a clean-up of the beams themselves (they had accumulated a few years worth of dust) the overall impression is stunning.

The refinished great room floor. All ready for another 17 years of service.

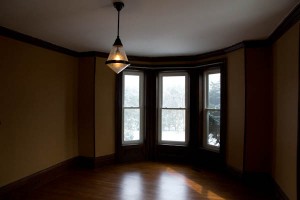
My den is coming along nicely as well. The paint colour is awesome. It’s the colour that I had in my last den, so I know it will work with the furniture. But even better, it works with the woodwork in the rooms. It sets off the wood framing of the windows, and the flooring, spectacularly. And my manly-but-dangly light fixture is now installed (complete with Edison bulb) and is looking pretty sharp, if I do say so myself.

Mark’s den. New and improved, with no more popcorn ceiling!

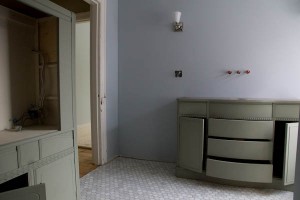
Up in the bathroom, the flooring has been installed and Keelan managed to strip and prime both of the cabinets in preparation for painting. The linen tower that we found was a particular challenge, as it had been waxed. Apparently stripping this involved copious amounts of naphtha and wire wool, and Keelan studiously avoiding letting things catch fire. There is little reward without risk, I suppose. They are now ready to be painted and put back together.

Bathroom cabinets stripped and primed, and the floor tiling installed.

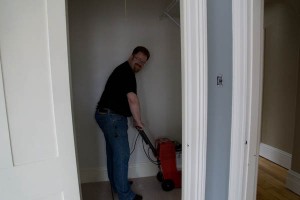
While all this was going on, Dianne and I contributed to the process where we could, mostly be pitching in and doing some carpet cleaning. One Saturday morning not too long ago, we headed out at the crack of dawn to rent a carpet cleaner from Sobey’s, and tackle the carpets. There were some stains that stubbornly resist coming out, but are at least no longer noticeable. The carpets, however, gave up an impressive amount of dirt, grit and animal hair. Several hours of manhandling the cleaner and one pair of wet socks later, the bedrooms are at least clean.

Mark, caught in the closet. Time he cleaned up his act.

In the next couple of weeks, the majority of the work will be completed. Cabinets go in next week, and the painters are back on site. Keelan is busy rehanging doors. The tilers are back in the bathroom finishing up the walls. And I have some furniture to build. That, however, is an entirely different story that will be told at a later date.

Taking Shape. And Colour.

Painting is happening. Within the next couple of days, everything should have had at least an initial coat of paint. Some rooms will in fact be finished.

A lot is happening. Parking is getting scarce. And tight.

I had an opportunity to head up to Boo Manor to check on things, as well as deal with a few appointments with suppliers. Without question, progress is being made. A lot of progress. The house was abuzz with contractors when I arrived; in fact, there was barely room to pull into the driveway. All told, there were eight cars when I got there, and Gene subsequently pulled in behind me.

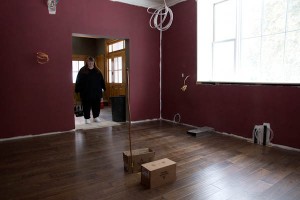
Painting is underway. The master bedroom, nearing completion.

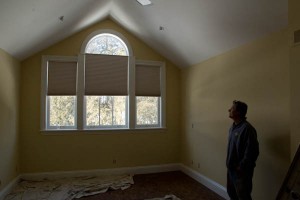
Much work has been done since my last update. Most of the upstairs bedrooms have now been painted, and the final bedroom is underway. When the wallpaper came off in one of the guest bedrooms, much plaster did also; apparently, the walls had never been primed or painted. It sort of makes me wonder about the age of the wallpaper, to be honest, but the result was that there was a lot of damage to the walls, as well as a number of cracks in the plaster from settling. The room needed a full skim coat to repair the damage and prep the room for painting.

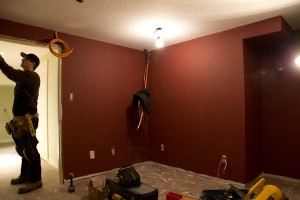
The wine room, painted an appropriate colour. With doors that needed to move a little to make way for flooring.

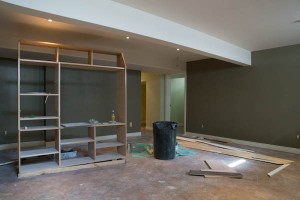
In addition, there have been a number of other creative bits of work going on. The basement is getting proper flooring instead of the linoleum-like surface that is there now. That means that the height of the floor will raise nearly 3/4″. Which means that every door in the basement will no longer function properly. As a consequence, all of the doors need to be raised in their frames to clear the new floors. This has been Keelan’s latest project.

A beam runs through it. Structural yes, but not helpful for projection.

The rest of the basement is now taking shape, as well. The cables have been run for the multimedia (surround sound speakers, as well as video and power for the projector). We’ve figured out how to mount the projector, despite a very large beam bisecting the middle of the basement ceiling. The optimal dimensions of the projection screen (netting out to a very respectable 100″ TV, if we’re going to be comparing size) have been determined.

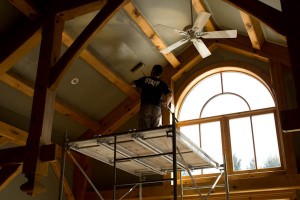
Dave painting the great room. Ladders? For wimps. We’ve got scaffolding.

All in all, Boo Manor is coming together. By the end of this week, priming and first coats on all the painting will be done. All the holes will have been repaired, including a couple of new ones that I discovered today. Flooring is on deck for installation next week. As well, Keelan will be stripping and prepping the vanity and linen cabinet for installation and painting.