While I had averted dealing with the wardrobes on the first day of construction (with the notable exception of moving nine very large and heavy boxes up a narrow and bending staircase) that just meant that they were patiently awaiting my arrival the next morning.
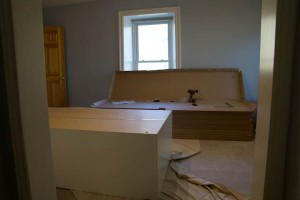
Wardrobes are like bookshelves, only larger. Much, much larger.
Pax as a wardrobe system is surprisingly flexible but nonetheless relatively uncomplicated. You start with a basic frame, and fill it with whatever bits and pieces are required to create the closet of your dreams, whether drawers, hanger bars, shoe trees or storage boxes. Assembly is, in my experience, best approached in the same way; build the frames and get them to where you want them, and then worry about installing the interior fittings.
According to the plan, the wardrobe units that I had picked should fit pretty well perfectly in our new walk-in closet, without making the space feel overwhelmed. While that may be true, the more wardrobe frames you build, the less space you have for the assembly of future wardrobe frames. The result was the creeping sensation that the walls were closing in. Which,in effect, they were.
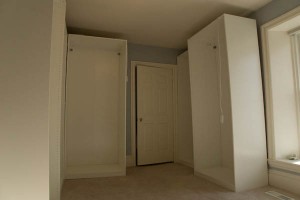
If it feels like the walls are closing in, it’s only because they are.
Assembly was relatively straightforward, in that the frames work like bookshelves but on a very large scale. The result is larger, heavier and more unwieldy, but still largely based upon the same principle. Unpack, frame, slide, bang and struggle to get upright. Repeat eight times. By the end of the day, I had nine completed wardrobe frames. Not full wardrobes, mind you, because they were all empty. But the frames were in place.
What that meant was an unplanned third day to actually deal with all of the innards that would make the wardrobes functional. I got an early start that Saturday, getting to Boo Manor shortly after 9am. The first order of business was figuring out where to assemble everything. The old kitchen island is still on the front porch, and has been used as everything from a desk to a workbench so far during the renovation; that would work for me. An hour spent lugging the boxes for the interior out of the garage, and I was ready to get started.
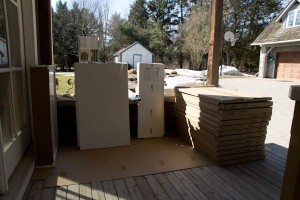
Outdoor Ikea warehouse? Nope, just all the stuff to be assembled.
My basic strategy was to fill the contents of one wardrobe at a time. That meant unpacking, assembling and/or building whatever items were required, bringing them upstairs, and installing them in the appropriate wardrobe frame. Many of those innards were drawers. These were each their own little assembly sub-project, individually wrapped with their own little packet of screws and hardware. By the time I was finished, twenty-six drawers later, assembly time for a single drawer was less than five minutes.
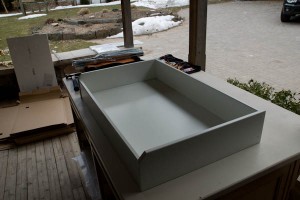
A drawer. One of 26. By the end, assemble was sub-five-minutes.
Possibly the most excruciating item to assemble was a shoe rack, however. Appealing in principle, the rack rolled into a frame and offered storage for up to 12 pairs of shoes. What that translates into in reality is 24 little metal tubes that need to be separately bolted to the rack with Ikea’s trademark Allen key, one at a time. After that, 24 little plastic shoe forms needed to be clipped into place, before the whole thing could be installed. Great result, but I’m glad that I had to only build one of them.
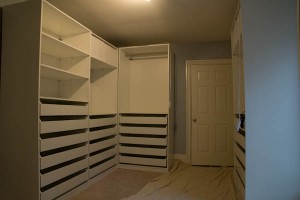
The finished product. With lots of drawers.
Despite the early start, the process lasted the entire day. As 6:30 rolled around on the clock, I was finally in the process of cleaning up, packing my tools and getting ready to drive back to the city. Behind me, I left five bookshelves and nine completed wardrobes, ready for us to move in. Impressively, when all was said and done, there was not a single missing piece of hardware or damaged panel. No emergency return trips to Ikea required, and any swearing and cursing regarding the process of assembly was entirely my own doing.
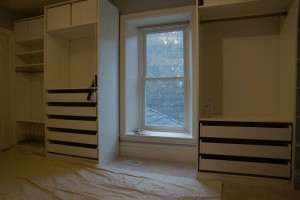
Astonishingly, it all fit. And went together. With no missing hardware or damaged pieces.
